 |
 |
|
click thumbnails for larger images |
|
 |
 |
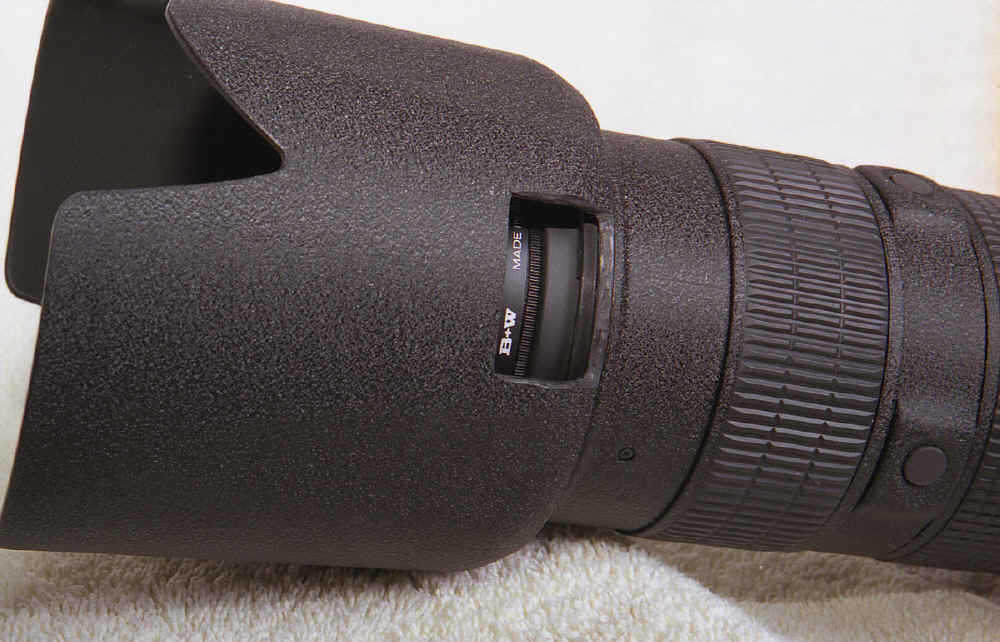
Using a lens hood with a rotating filter
I often use a polarizer and neutral graduated filters. These filters rotate to different positions, depending on the effect desired. The recent trend to deep, scalloped lens hood (tulip shape) presents a problem with these filters. Because the lens hood is so deep, it's impossible to reach the filter ring. As a practical matter, these filters must be used with the hood removed. You could attach the hood after adjusting the filter, but most photographers I have observed simply don't use the hood when using rotating filters.
If it the hood had a small opening at the rear, just enough for the photographer to adjust the filter with one finger, the process would be much easier. Since most lens hoods today are plastic, adding such an opening is an easy procedure. All it takes is careful use of a rotary griding tool (Dremel, or similar).
|
|
|
click thumbnails for larger images |
|
|
|
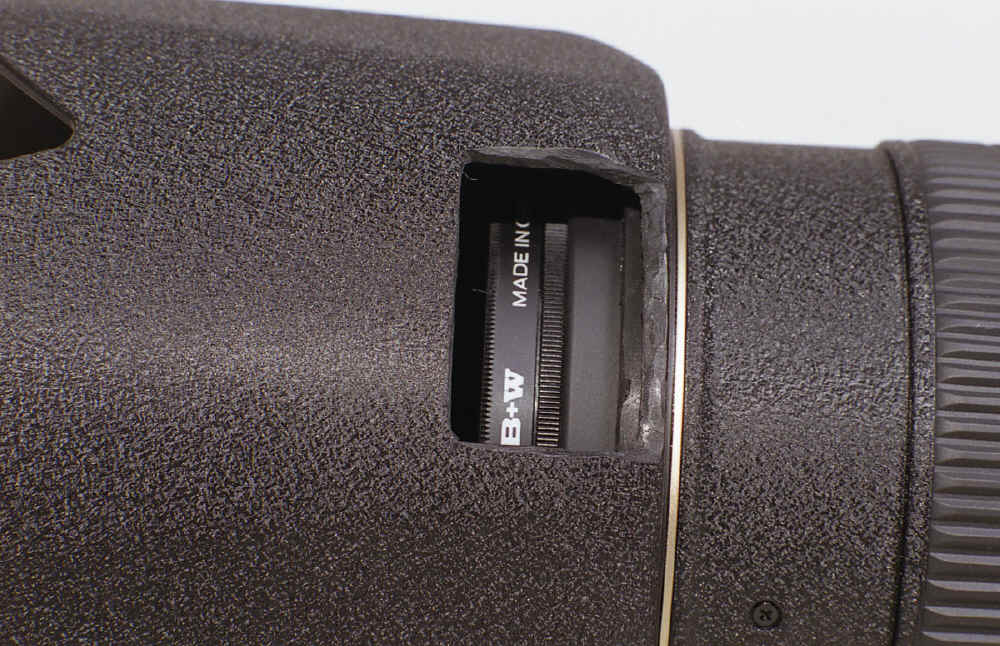
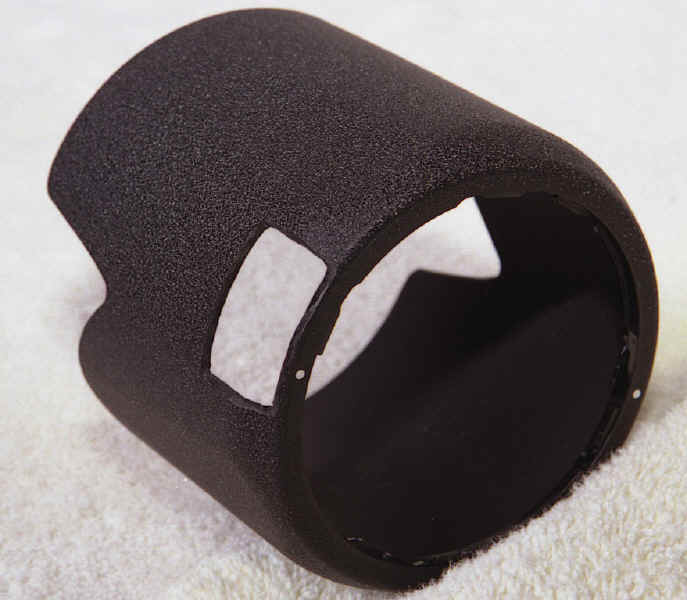
These photos are of an 80-200/2.8 AF-S lens, with the opening added. I have performed this procedure on a dozen or so lenses, and all the owners are quite happy. I have yet to see flare caused by stray light entering the opening, although it is possible. If you use rotating filters, the modification is definitely an improvement.
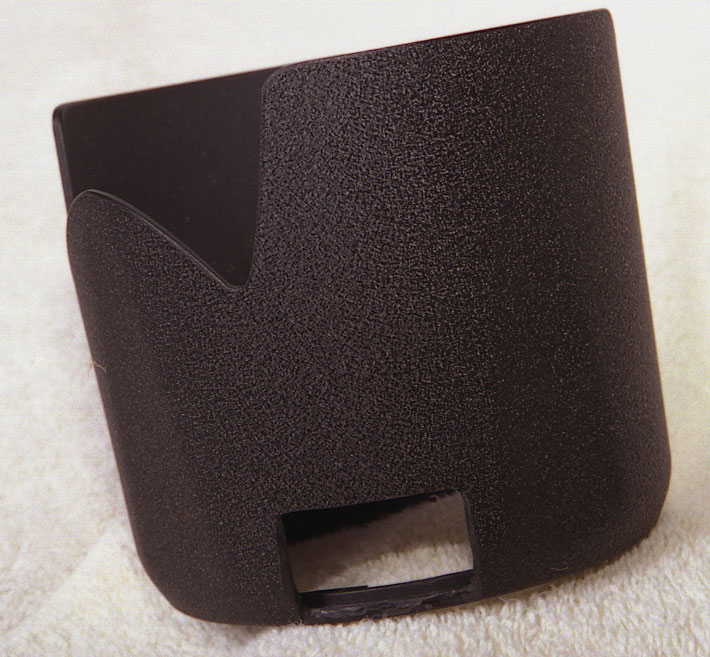
Choosing the size and location for the opening is important. If too large, stray light will enter, negating the value of using a hood. A location should be chosen that minimizes the likelihood of side light entering. I have chosen the lower left corner, viewed from the rear of the camera. That is, opposite the shutter release in any 35mm SLR.
The concept here is the bright side light is more likely to come from above, than below. In the bottom left position, the opening is near the bottom in both the horizontal and vertical camera positions, when using a camera like the Nikon F5, which has two shutter release buttons.
Before modifying your own hood, ask yourself how you hold the camera in vertical shots. If your camera does not have a separate vertical shutter release button, and you shoot verticals holding the camera with the release button at the bottom, you will want to place the opening in the bottom right corner, instead of the bottom left.
| last updated Saturday, March 01, 2003 by Don Ferrario | back to Don's
Photo Site |